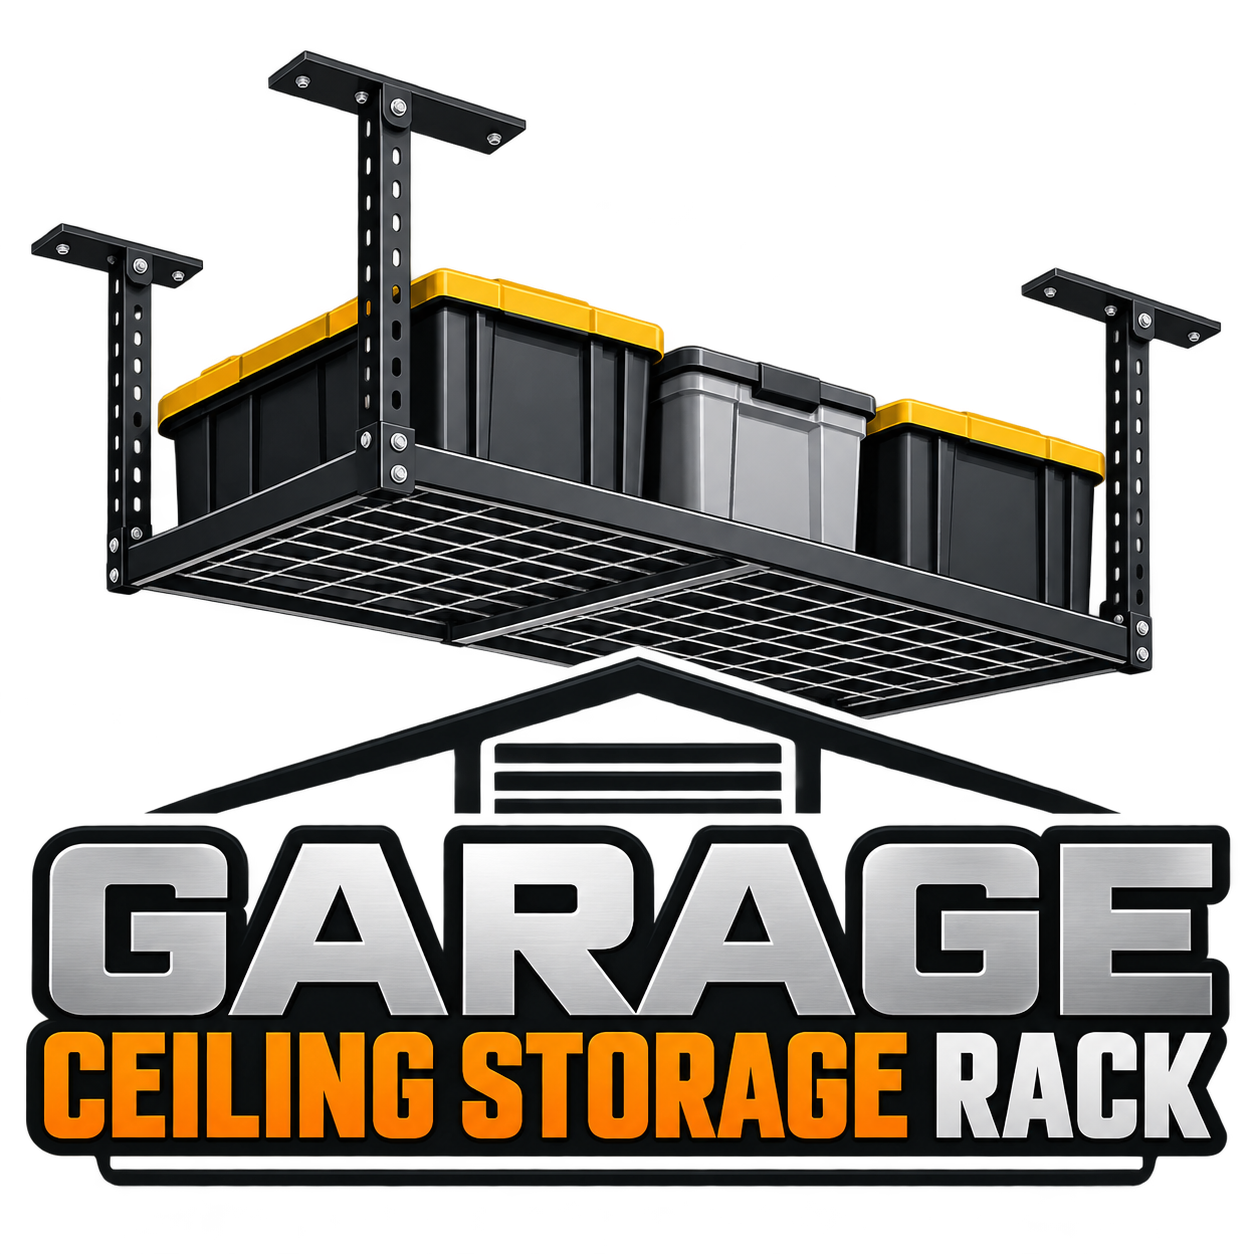

A compact overhead garage storage rack can help use an open section of ceiling without planning around a full-size platform. For a small garage, however, the platform dimensions are only one part of the decision. The rack also needs a usable mounting location, clear space below it, and a realistic way to load and retrieve what you store.
Start with the space you can actually use rather than the overall dimensions of the garage. Map the proposed rack area, garage-door movement, lighting, ceiling equipment, vehicle space, and the route you will use to reach stored items. Then compare those measurements with the manufacturer’s current documentation before choosing a rack.
Start with usable ceiling space
Measure the open ceiling rectangle where a rack could be placed. Treat the garage as a working space, not an empty box: exclude door tracks, springs, opener rails, the open-door path, lights, vents, attic access, and anything that must remain accessible.
Also measure the usable floor area beneath and near the proposed location. A compact rack may fit overhead but still be inconvenient if there is no place to position a ladder, carry a bin, or open a vehicle hatch without entering the garage-door path. Sketching the ceiling area and floor area together can reveal conflicts that a ceiling-only measurement misses.
When taking measurements, record the direction of each dimension. A space that is narrow and long calls for a different rack shape than a space that is short and wide. Note obstacles by location instead of relying on a single overall ceiling measurement.
Choose a footprint shape for the layout
Compact overhead garage storage racks for small spaces are commonly considered by footprint first. The best shape is the one that leaves room for the door system, vehicle use, and safe access—not necessarily the one with the largest platform area.
- Narrow, long footprints: These can be worth considering where the open ceiling area is a strip beside a vehicle bay, along a wall, or toward the back of a garage. Verify that the documented mounting-point layout works in that strip.
- Shorter rectangular footprints: A more compact rectangle can be easier to position where lights, vents, or an attic opening divide the available ceiling into smaller zones.
- Wider platforms: These may be an option in a more open section of garage, but their larger footprint can make door hardware, access routes, and mounting locations harder to accommodate.
For example, a 3-by-6-foot format may be a starting point for a moderate rectangular area, while a 2-by-8-foot format may suit a long, narrow area. These labels describe platform shape only. They do not confirm the finished installed dimensions, mounting requirements, or suitability for a particular garage.
Do not choose from a product title or platform size alone. Check whether the manufacturer includes hardware beyond the platform footprint, specifies required spacing at mounting points, or gives installation dimensions that affect the final envelope.
Plan an access path as well as a storage area
Ceiling storage is most practical when you can reach it deliberately. Before buying, decide how items will be loaded and removed. Consider where a step ladder would stand, whether you can carry a container to that spot, and whether the area remains clear when a vehicle is parked.
Items that are needed every week may be better kept at a more convenient height or in another storage location. A compact overhead rack is often easier to manage when it is reserved for items used less often, such as seasonal décor, camping supplies, or labeled bins. The exact contents should still stay within the rack maker’s stated use and load limits.
Use containers that suit the planned storage area. Measure the height of the container and its lid, handles, or protrusions rather than assuming it will fit because its base fits on the platform. Leave enough room to place and remove items without forcing them around lights, rails, or other ceiling obstacles.
Check vertical clearance before selecting a drop range
A compact platform still uses space below the ceiling. Measure from the ceiling to the lowest planned point of the installed rack, then include the height of the bins or items you expect to store. Compare the resulting lowest point with vehicle height, vehicle doors or hatches, walking routes, lighting, and garage-door movement.
A higher installed position may preserve more open space below, but it can make loading less convenient. A lower position may make items easier to reach while reducing clearance in the garage. There is no universal best drop range; the appropriate choice depends on measured clearance and the installation options permitted in the manufacturer’s instructions.
List overhead and below-rack conflicts
- Garage-door tracks, springs, opener rails, and the path of the door when open
- Light fixtures, outlets, detectors, vents, and attic access panels
- Vehicle roof height, hatch or trunk opening space, and bicycle or roof-mounted accessories
- Walking paths, ladder placement, and the space needed to handle containers
- Items that need regular access and should not be difficult to retrieve
Revisit this list with the garage door open and with vehicles in their normal positions. A location that appears clear in an empty garage may not stay clear during daily use.
Match the rack to documented mounting fit
Install an overhead rack only as directed in its manufacturer’s current instructions. Before purchase, review the documentation for the approved mounting method, required fasteners, mounting-point layout, ceiling compatibility, adjustment range, and stated load rating.
A manufacturer-rated capacity should be read together with the installation requirements. It does not replace confirmation that the proposed mounting location and arrangement match the manufacturer’s instructions. Avoid treating a platform’s listed capacity as permission to use a different mounting method, change the specified fasteners, or load the rack beyond its documented limits.
If the ceiling condition, mounting locations, or instructions are unclear, pause the project rather than guessing. Obtain qualified local guidance appropriate to the installation before proceeding. This is especially important when a proposed location conflicts with garage-door equipment or when the documented mounting requirements cannot be confirmed.
Compare compact rack candidates consistently
When comparing two or more compact racks, use the same set of questions for each candidate. This keeps a smaller rack from looking like a better fit merely because its platform dimensions are appealing.
- What are the platform dimensions and the finished installed dimensions in the current documentation?
- What mounting locations, spacing, hardware, and ceiling conditions does the manufacturer specify?
- What drop or height-adjustment options are documented?
- What is the stated load rating, and what conditions or installation instructions accompany it?
- Will the rack and its stored contents clear the door, vehicles, lights, and normal walking routes?
- Can items be loaded and retrieved without obstructing ordinary garage use?
Keep a simple comparison note with your measurements beside each candidate’s documentation. If one option works only by assuming missing clearance or an unconfirmed mounting location, it is not yet a confirmed fit.
Use storage habits that suit a compact rack
Keep the rack organized around access and documented limits. Group items by season or activity, label containers, and place items so they can be handled without rearranging the entire platform. Avoid loading in a way that interferes with access or creates a reason to reach across an unsafe area.
After loading, check the surrounding area again. Confirm that stored items do not interfere with the garage door, lighting, vehicles, or routine movement through the garage. If the storage plan changes from lightweight seasonal bins to heavier or bulkier items, review the manufacturer’s instructions again before making the change.
A quick buying checklist
- Measure the clear ceiling rectangle, not just the garage’s overall dimensions.
- Record the location of door hardware, lights, vents, attic access, and other obstacles.
- Select a footprint shape that preserves an access route and usable floor space below.
- Measure the rack, its stored contents, and the clearance below the lowest planned point.
- Check garage-door travel and vehicle clearance in normal use.
- Read the current manufacturer installation instructions before purchase.
- Use only the documented mounting method, hardware, and stated load limits.
A narrow or compact rack footprint can be a useful starting point when ceiling space is interrupted or limited. The final choice should come from your measured layout and the manufacturer’s documented mounting and clearance requirements, not from platform size alone.