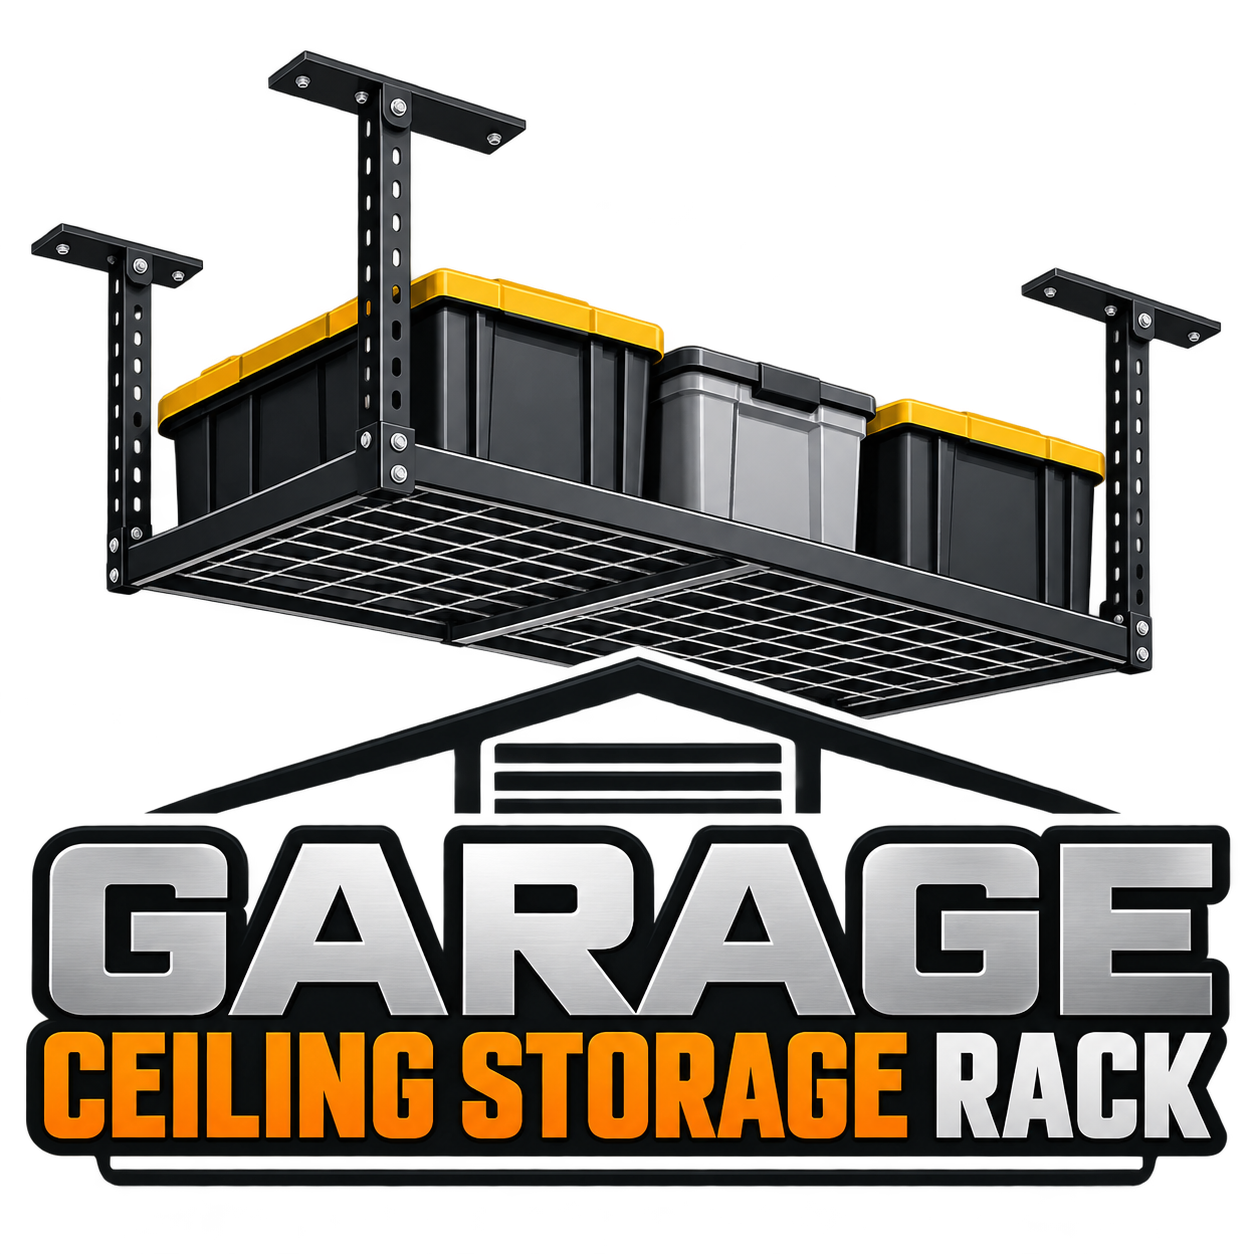
A garage ceiling rack load rating is a useful starting point when comparing overhead storage options. It is not, by itself, a complete answer to the question of how much you should store. A practical plan also accounts for the exact model, its installation instructions, the items you intend to place overhead, the usable platform area, and the clearance available in the garage.
Use the manufacturer’s stated capacity as part of a written comparison. Keep that figure connected to the conditions and limitations that appear in the same product documentation. This makes it easier to compare racks without assuming that two products with similar numbers are interchangeable.
Start With the Rating for the Exact Rack Model
Record the listed load rating exactly as it appears for the specific rack or lift you are considering. Include the product name, dimensions, and any qualifications in the manual or product specifications. A capacity listed for one size, configuration, or mounting arrangement should not automatically be carried over to another.
Different overhead storage products can have very different designs. For example, a compact fixed rack, a larger 4×8 platform, and a motorized storage lift may differ in footprint, mounting method, platform design, drop distance, and operating instructions. The capacity number is only one detail in that comparison.
Build a product-comparison list
- Exact model name and rack footprint
- Listed manufacturer load rating
- Platform dimensions and usable storage area
- Fixed drop distance or stated drop range
- Mounting location, hardware, and ceiling or joist requirements stated in the instructions
- Any listed restrictions, exclusions, or loading directions
- Clearance needed for the rack, stored items, and garage-door operation
Keeping these details together prevents a capacity figure from becoming the sole basis for a purchase decision. It also gives you a clearer way to eliminate options that do not fit your space before focusing on features or accessories.
Make an Item List Before Comparing Capacity
Plan around the items you actually expect to store, rather than around the number of bins that might fit. List seasonal totes, sports gear, luggage, boxed household items, and unusually shaped belongings separately. For each item, note an approximate weight, overall dimensions, and how often you expect to retrieve it.
The purpose is not to create an exact engineering calculation. It is to turn a vague idea—such as “holiday decorations and extra garage items”—into a storage plan you can compare with the product instructions and available space.
Include the container, not just its contents
When estimating an item, consider the tote, box, bag, or other container as part of the stored item. A lidded bin may have a different overall height and footprint than its contents alone. This matters when you are checking both platform space and the lowest point beneath the installed rack.
It can also help to separate items into two groups: items that can stay overhead for long periods and items that need regular access. Frequently used belongings may be a poor fit for a location that is inconvenient to reach, even if they fit within the rack’s listed capacity.
Consider Placement, Not Only the Total
A single total weight does not show where items will sit. Sketch a simple top-down layout of the platform and place your planned totes or boxes within that area. Check whether the layout keeps items inside the usable platform and follows any placement guidance in the instructions.
Avoid using a capacity number as permission to fill every open area without a plan. Long, tall, or awkward items can affect access, overhang, and clearance even when the combined estimated weight appears to be within the listed figure. If the manufacturer provides directions about item placement or load distribution, those directions belong in your plan.
Questions for the layout sketch
- Do the planned containers fit within the usable platform area?
- Will any item extend beyond an edge or create a clearance conflict?
- Are taller items positioned where their added height has been considered?
- Can you identify what is stored overhead without moving several other items?
- Does the planned arrangement follow any instructions supplied for that product?
Read Installation Instructions Alongside the Listed Capacity
The rack’s stated capacity and its installation conditions should be read together. Review the manufacturer’s instructions for the required mounting location, supplied or specified hardware, ceiling or joist fit, and any restrictions that apply to the product. Do this before treating the rack as suitable for your garage.
If the instructions do not clearly address your proposed location or installation situation, pause the decision and seek appropriate qualified help. This guide does not evaluate a garage structure or provide structural engineering guidance.
It is also worth confirming that the documentation you are reading matches the exact model and version under consideration. Save the relevant instructions with your comparison notes so you can revisit them before purchase and again before installation.
Check Clearance for the Rack and the Stored Items
Load rating is only one part of overhead storage planning. A rack needs a location that works with the garage door, door tracks, opener, lights, vehicles, walking paths, and the route used to load and unload stored items.
Measure the proposed area, then map the rack footprint, its distance below the ceiling, and the height of the items you plan to store. The lowest point may be the rack itself or an item beneath it, depending on the layout. Compare that point with the clearance you want above a parked vehicle and through the rest of the garage.
Clearance questions to answer
- Where will the lowest point of the installed and loaded setup be?
- How much room do you want above the vehicle or vehicles that use the garage?
- Could the rack or stored items conflict with door movement, tracks, an opener, lights, or access paths?
- Can you reach the stored items using the access method you plan to use?
- Will a box or tote need to be moved through a tight space during loading or retrieval?
For a low-ceiling garage, these measurements may narrow the practical options quickly. A rack with an otherwise suitable listed capacity may not be a good fit if its drop distance and the height of your containers leave too little usable room below.
Use the Rating to Compare Options, Not Make Assumptions
A garage ceiling rack load rating can help narrow a list of options when it is considered with size, installation requirements, drop range, and your item list. It is most useful as a documented comparison point rather than as a substitute for checking fit, access, or installation conditions.
For each finalist, revisit the manufacturer instructions before purchase and installation. Choose a setup that accommodates your planned items, leaves practical access and clearance, and does not depend on assumptions that are not addressed in the product documentation.
Quick Planning Checklist
- Record the stated rating for the exact rack model.
- Save the related installation instructions and restrictions.
- List the items you intend to store, including containers.
- Estimate each item’s approximate weight, dimensions, and retrieval frequency.
- Sketch a layout across the usable platform area.
- Measure ceiling height, rack drop, stored-item height, and desired vehicle clearance.
- Check for possible conflicts with the garage door, opener, lighting, and access routes.
- Seek appropriate qualified help when the installation documentation does not clearly address your situation.
By treating the listed rating as one documented part of a larger planning process, you can compare garage ceiling storage racks more clearly and focus on the details that affect fit, access, and everyday use.